Filter:

Breakout Groups
Just like in a face-to-face classroom, Collaborate's breakout groups are a good way to get students interacting.
Breakout Activity Overview
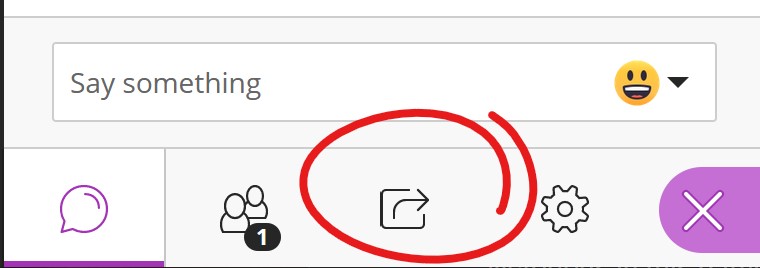
You'll find Breakout Groups on the share tab. Open the Collaborate panel (the purple tab in the lower right), then click the share button to find Breakout Groups.
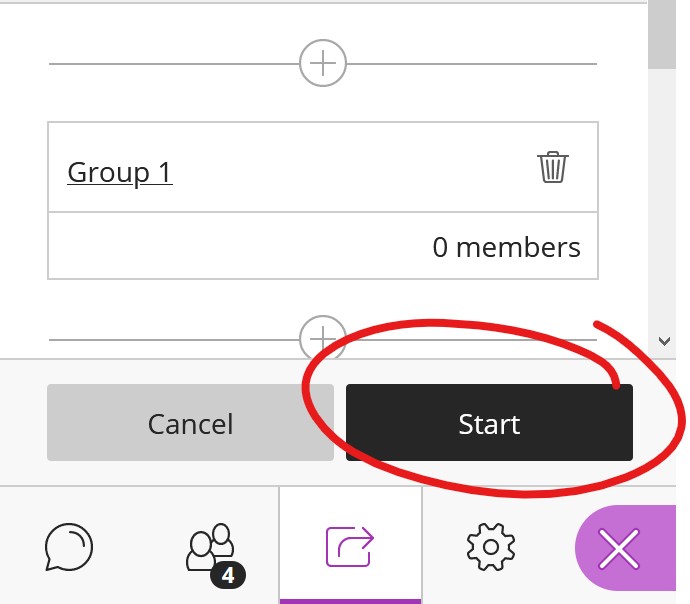
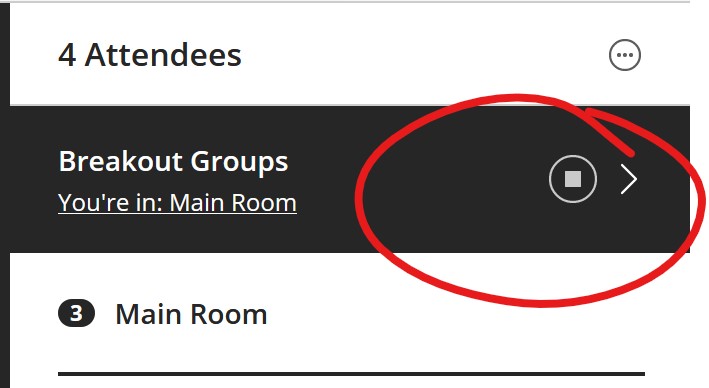
To run a breakout session you'll need to set up your groups (see below), then click the START button at the bottom of the Breakout Groups pane to send the students to their groups. It will take 20 or 30 seconds to get everyone transitioned to their groups.
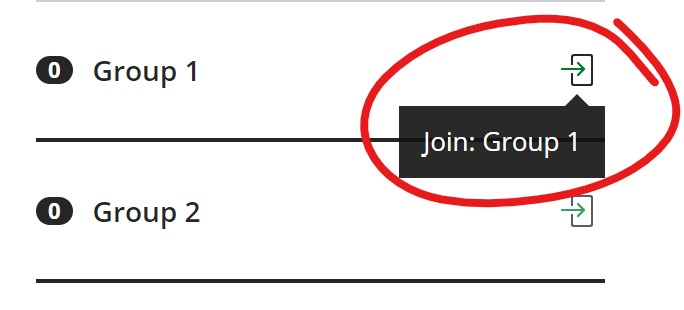
Once students are in their groups you can move yourself from one group to another from the Attendee panel. Just click the “door” icon next to a group name and you’ll be moved immediately.
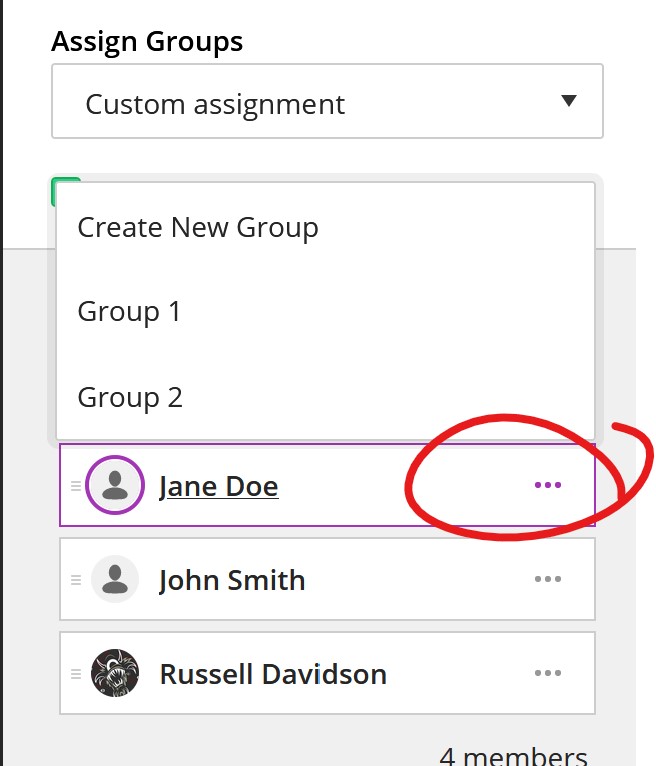
To move an attendee, click the more button next to their name, then choose MOVE TO ANOTHER GROUP.
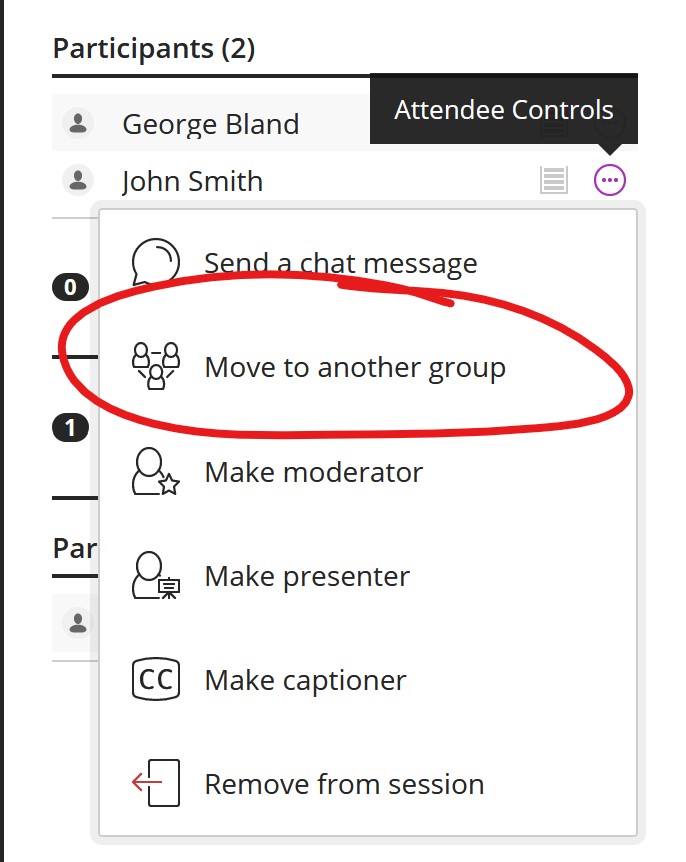
This will put you on the Group panel. Click the MORE button next to their name and choose their new group.
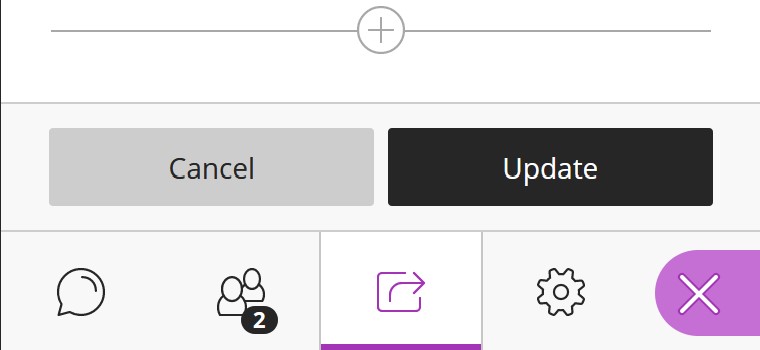
Then click the UPDATE button (which replaces START at the bottom of the panel) to move to the appropriate group.
When you’re done with the group activity, click the STOP button at the top of the attendee pane (or beside the Breakout Groups option in the Share panel) to end the group activity and bring everyone back into the main room.
Groups and Group Options
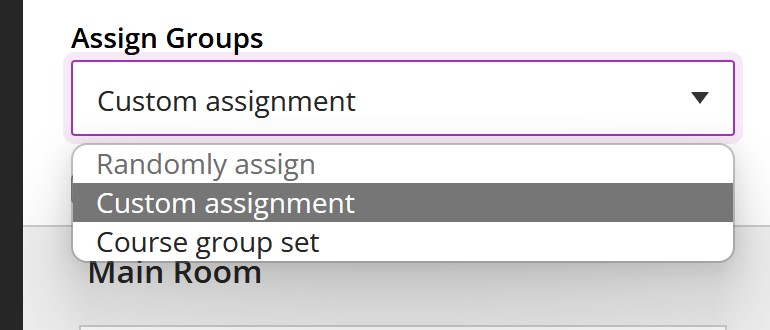
There are three ways to assign students to groups in Collaborate: Random assignment, Custom (or manual) assignment, or, if you've got groups set up in your Blackboard course site you can use Course Group Set.
Random assignment
If you have 4 or more people in your room you can randomly assign your students to groups. Just select Randomly Assign from the Assign Groups list, then enter the number of groups you want from the Number of Groups pulldown list.

Custom Assignment
If you’d like, you can instead use CUSTOM ASSIGNMENT to manually assign students to groups. If have less than 4 people in your session this is probably your best option.
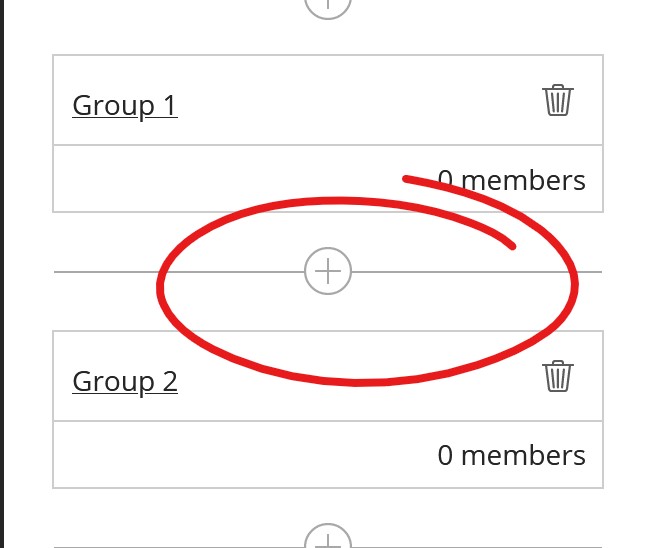
Use the + button around the default groups to add new groups.
Then, either click and drag a name and drag the student to the appropriate group, or you can click the MORE button beside their name and choose a group by number (see above).
Course Group Sets
If you have already have one or more grou sets in your course site, outside of Collaborate, then you can use the Course Group Sets option. This is probably the best way to go if you plan to re-use groups, either during one session or over the course of multiple sessions.
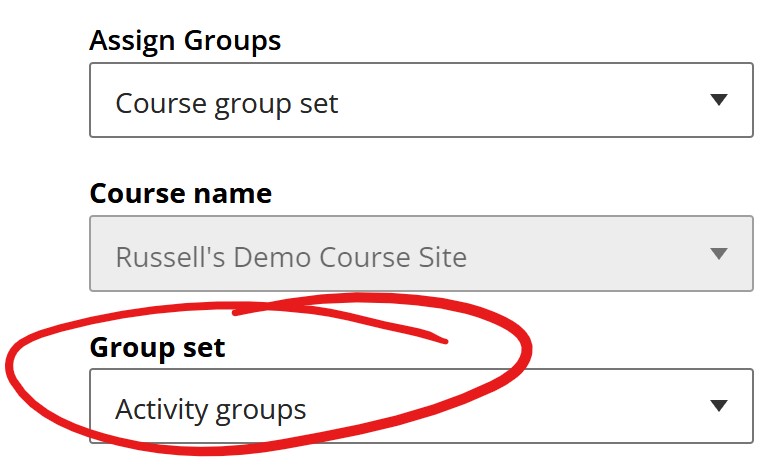
When you first select this option, Collaborate will check in with Blackboard, then return all the group sets you've established in the course. Choose the group set you'd like to use for your session.
Reusing Random or Custom Groups Within the Session
If you're going to re-use the same groups -- if you'll want to send the students to groups, bring them back to the main room to discuss and summarize, then send them back to the same groups again to continue their activities -- the best set up is to have your students go to their groups themselves. This is also a good solution if you’re using Blackboard groups for other activities (asynchronous discussion, creating a project or presentation, etc) and you want your students to work synchronously with the same people.
You may want to post a slide to the class that lists the groups and who should be in them.
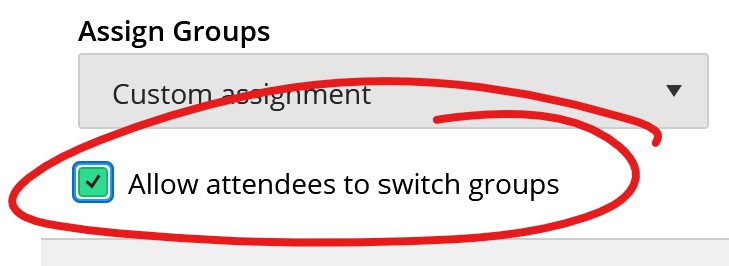
To have students move into groups themselves, check the box at the top of the Breakout groups panel and check the box labelled “ALLOW ATTENDEES TO SWITCH GROUPS”.
You may want to provide your students with this link on how to move to a group before sending them off for the first time (we recommend posting it in the session chat).
You can also use this in combination with randomly assigned groups – create and populate the groups randomly for the first part of the activity, then STOP the activity.
Breakout Group Tips
If the Main Room is emptied, recording will stop. You’ll need to re-start recording when folks are back in the main room.
If breakout activity is stopped, whiteboard activity will be lost. To preserve group room activity, either have the students manually switch back to the main room (“Allow attendees to switch groups” must be enabled).
Moving between groups is time consuming. Consider having the students use a editable file shared from your Detroit Mercy OneDrive for note-taking (or as a worksheet); open this editable page (or pages, if you want each group to have its own page) yourself, then track group progress by watching your students edit the file in real-time.
Instructions for how to share a Word (or Excel) file from OneDrive are here: https://libraries.udmercy.edu/page.php?item_id=570
Permalink Last updated 01/07/2022 by R. Davidson