Filter:

Sharing an editable file for synchronous group work
When teaching a synchronous session, we often want students to work together toward an end goal. We also often want a shareable record of that activity -- something that can be discussed with the class as a whole following a breakout group activity, or posted to the class site so it can be reviewed later.
Example
We have a worksheet we want the students to complete during the session. The worksheet consists of a table; we plan to send the students to breakout groups and have each group complete one row of the table.
Example
We may have a case study; we plan to send the students into breakout groups to address different aspects of the case. The Word file contains the details of the case and separate headings for each aspect we want addressed.
We could direct students to download a file in the course site, have it handy, and work through the file individually, and then email to us after the session. To share the contents of their discussion during the class, we could promote a representative of the group to Presenter and have them share their file with the whole class.
A better solution, with less overhead, is to use share a Word file that can be edited online with all the students. The students can then collaboratively work on the same file at the same time.
This gives us a centralized space faculty can use to see how the group work is going -- if Group Two's row is sitting blank, we know we need to check in on Group Two to see how the discussion is progressing.
Depending on the activity, you may have separate files for each group (which you can open in separate browser tabs to quickly flip between).
Fortunately, getting this up and running is fairly simple. First, use Word to create the file (or files) you want your students to edit.
Once your file is done, save it to your Detroit Mercy OneDrive. If you're not sure how to do this directly, the easiest path is to save the file to your computer, then upload it to OneDrive --
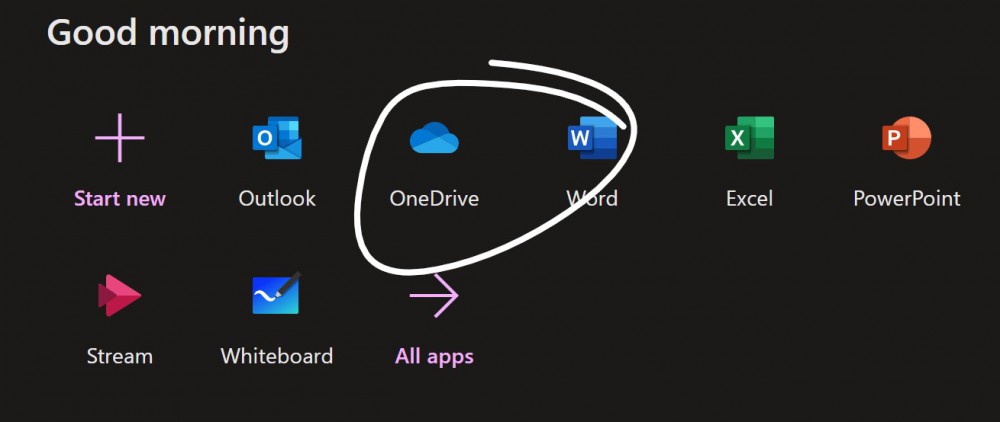
Log into your Detroit Mercy Office 365 account and click OneDrive on the Applications list. If it doesn't appear on the first page, click ALL APPS to see the full list, then choose OneDrive.
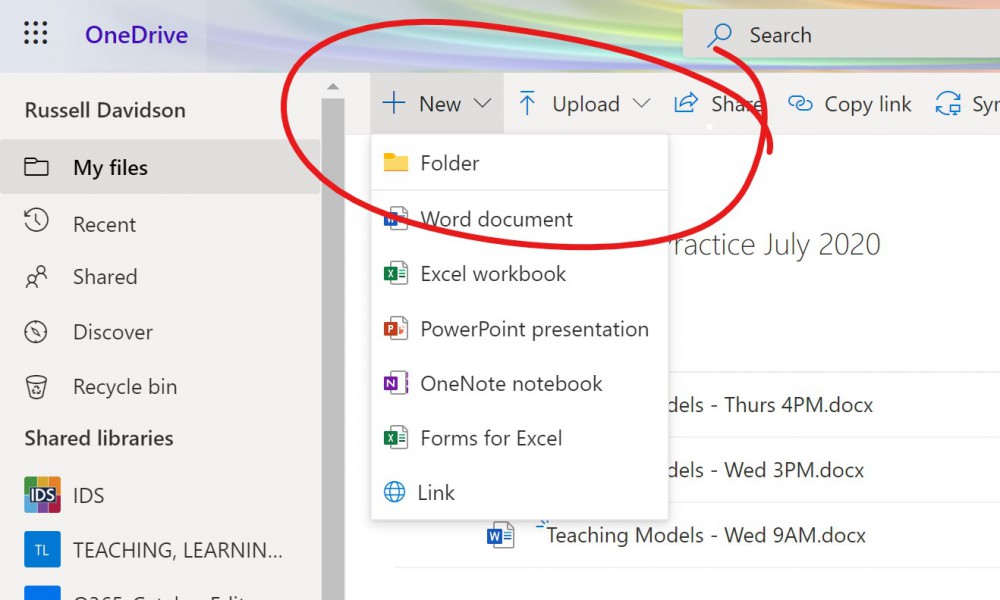
It's not necessary, but you may want to create a folder for the class. To create a folder in your OneDrive, click the +NEW button and choose Folder.
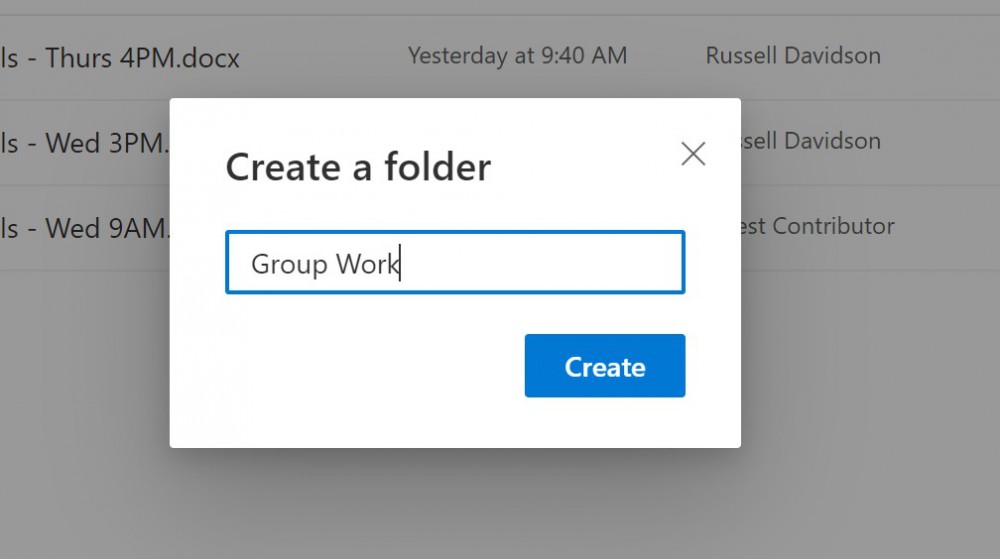
Enter a name for your new folder and click CREATE to create the folder. Then click on your new folder to open it (so we can add your worksheet(s) to this new location).
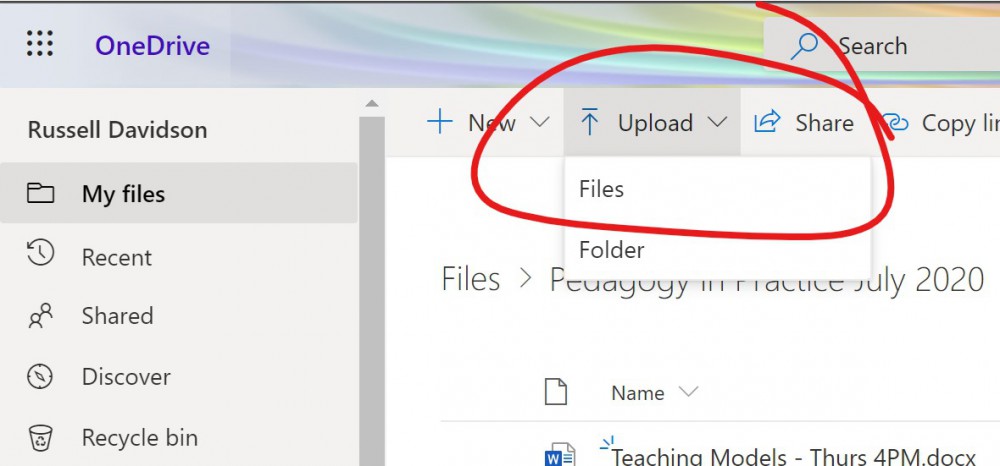
To upload your Word file, click the UPLOAD button. Choose File (or upload a whole folder of files via FOLDER). Browse for and add your file as you would attach a file to an email.
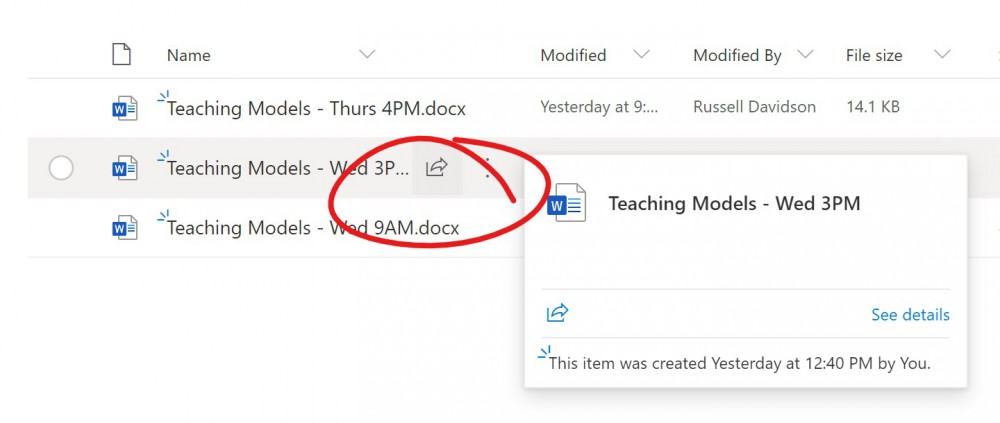
To get everyone interacting on the same file, you'll just want to get the share link to the file. Mouse over the file, then click the SHARE button that appears.
This opens the send link window. The default setting (anyone with the link can edit) is the fastest way to get the share out -- no need for students to log into their Office365 accounts to get working. If you'd like to limit access, click that text at the top and choose a more restrictive option.
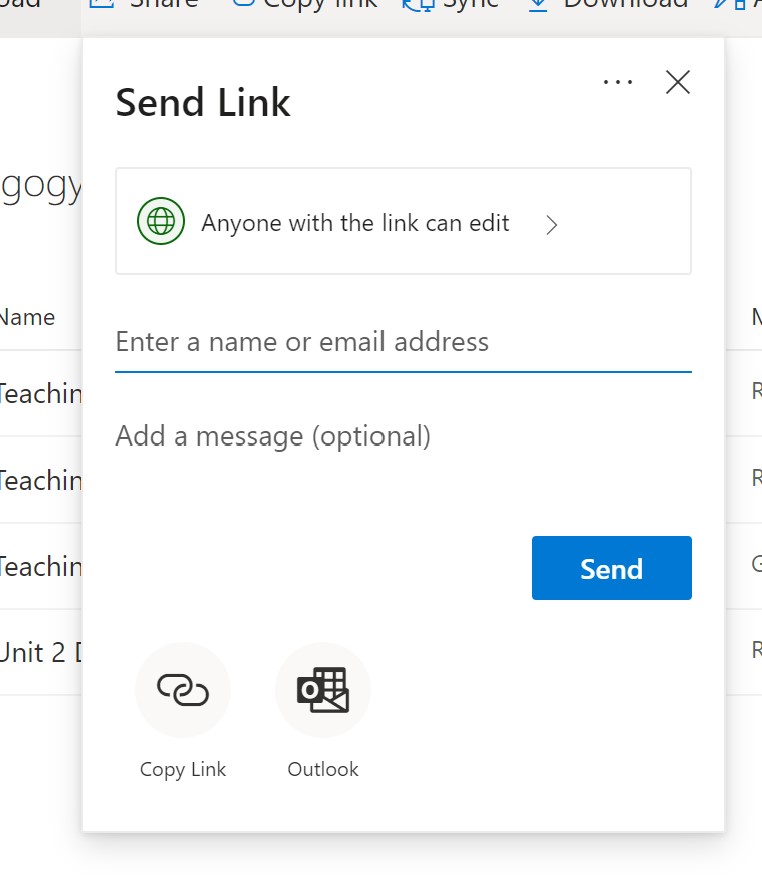
Click COPY LINK at the bottom of the SEND LINK window to get a shareable link. This is the link you'll want to paste into your Collaborate chat session to get the students started working with the file before sending them off into their groups.
Permalink Last updated 07/09/2020 by R. Davidson