Filter:

Blackboard Collaborate Basics
Blackboard Collaborate is an easy-to-use virtual classroom tool. Your professors can use it to in much the same way a physical space might be used -- you may have interactive lectures (where you and your peers and the professor are all online together, writing on a shared "whiteboard", asking questions of each other and so on), you may use it one-on-one with your proessor as a sort of virtual "office", you may use it as space where you can work together with a project group ... there are many, many ways the tool may be used.
To get started, make sure you're using Chrome or Firefox as your web browser. Other browsers (Edge, Safari) aren't officially supported by Blackboard and as a result you may run into problems if you try using them.
PRETTY MUCH ANY DEVICE WITH A WEB BROWSER AND AN INTERNET CONNECTION WILL WORK.
If you don't have access to a computer, you can use the web browser on a tablet (Android, or iPad) if you have it, or even the web browser on an Android phone or iPhone. Just go to http://blackboard.udmercy.edu, log in, and locate your course site.
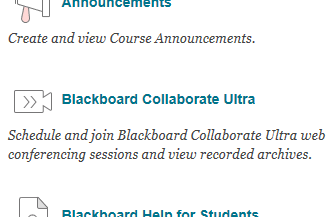
The first step in using Collaborate is locating the tool. You may find a link to Collaborate (sometimes called "Virtual Classroom" or "Virtual Office") in your course menu. If it's linked this way, your professor will tell you what to look for. Refer to your syllabus or ask your professor if you have questions about finding Collaborate.
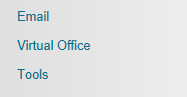
If all else fails, every course that uses Collaborate will have a Blackboard Collaborate Ultra link under the TOOLS menu item. If you can't find Collaborate by other means, look there.
When you open the Collaborate Ultra, you'll start out on the SESSIONS page. Here, you may see rooms (or sessions) set up for particular uses. You may find a session for a particular course gathering ("Week 01 Session"), regular sessions ("Tuesday Night Group"), or ad hoc meetings "Virtual Office". Some sessions will only be accessible shortly before the time they open. Others will always be available.
Rooms that are available appear in bold.
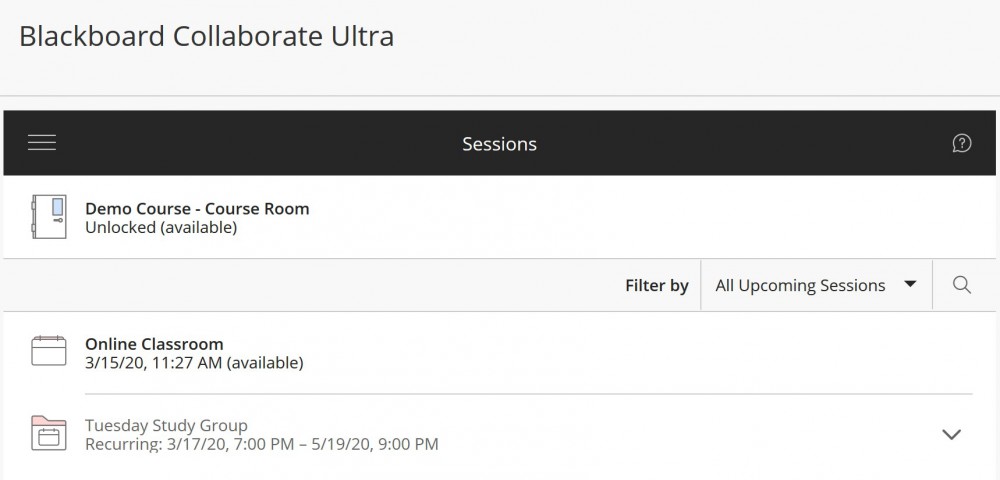
A session with a "folder" icon indicates a set of sessions. Click the session name to reveal the upcoming sessions, then choose the appropriate one.
If your professor hasn't created or specified a session for you to use, click the "[COURSE NAME] -Course Room" link that appears at the top of the page.
Clicking a session name opens the session info panel. You'll find a link to he course room as well as an "Anonymous dial-in" number you can use to call into the room. Click "Join Session" to launch the Collaborate room.
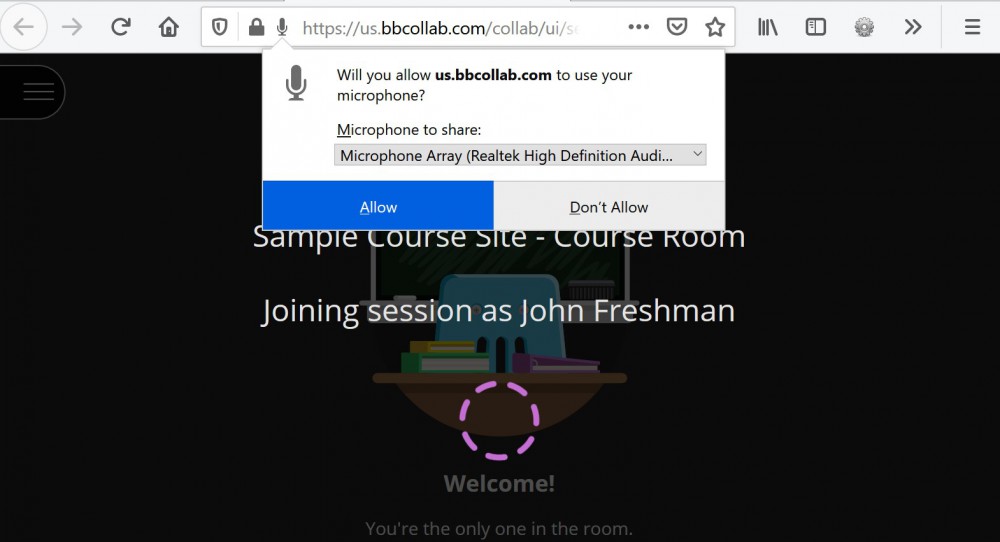
As part of the session-join process you'll be asked if you want to allow your browser to access your microphone and speakers. Choose ALLOW for both these options or you won't be able to speak or hear in the session. The visual for this will vary depending on your browser. Firefox is shown in the example below.
Your First Collaborate Session
There are a few extra steps that show up the first time you access Collaborate. After allowing access to your microphone and speakers, you'll be prompted to test them to make sure they're working. You'll also be asked to check your camera (if one is available). If you're going to want to use your camera, you'll need to allow your browser access to it as well.
These steps are pretty self-explanatory, just follow the onscreen prompts.

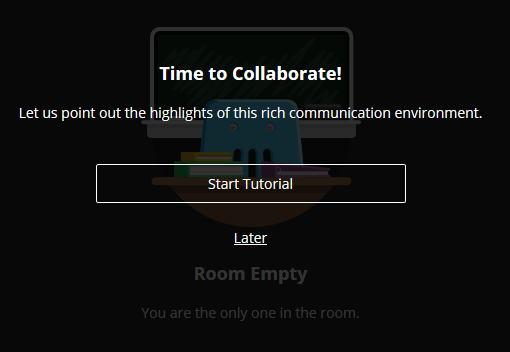
Next you'll be asked whether you'd like to take a brief (3 stop) tour of Collaborate. You can choose to check out the tour now, or run through it later (if you choose later, Collaborate will show you where you can find the tutorial later, if you'd like).
The main collaborate window is where you'll be doing most of your engaging with your professor and peers. In the main window you'll see the profile image or video of the session's other participants. If your professor uses a whiteboard or slideshow, those will appear in this space as well.
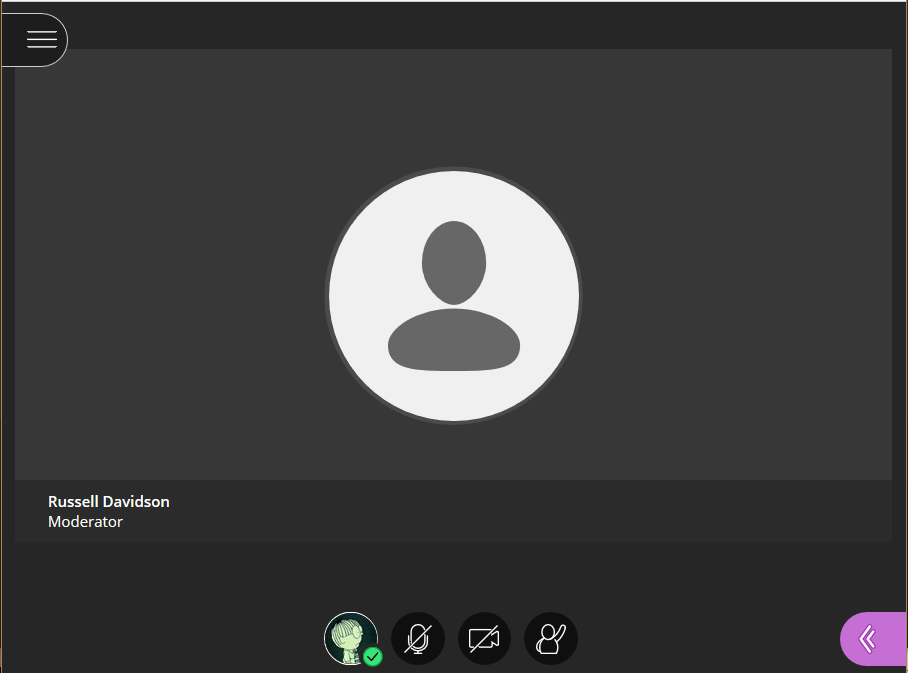
Basic Controls
The basic controls for turning on and off your microphone and webcam, and accessing your settings are at the bottom of the main window. Click the microphone button to toggle your microphone, the camera button to toggle your web cam. The first time you do this, you'll likely be prompted to allow your browser to access your microphone / webcam.
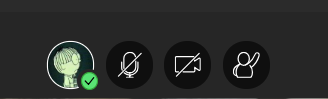
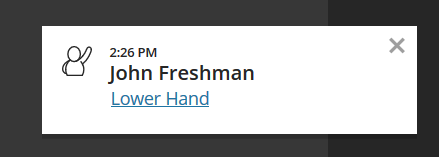
The "Raise hand" button pops out an alert on the instructor's (or presenter's) screen. A raised hand stays up until the professor dismisses it or until you dismiss it by re-clicking the "Raise hand" button. The number indicates the order in which you clicked the hand raise button.

Change your status
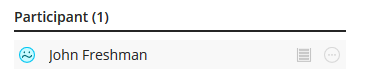
Your status is a quick and easy way to let your professor and your peers know where you're at. To change your status, click your profile icon. This opens the "My Status and Settings" menu which contains a range of potential states. Select an appropriate icon ... say, "Slower" if the presenter is moving too quickly, or "Confused" if you're having trouble understanding, and an icon will attach itself to your name in the attendees list and to your profile card in the main window (should it be visible). Your status times out after twenty or so seconds.
Microphone and Webcam Settings
Click your profile icon to open "My Status and Settings", then click your name. This will open your MY SETTINGS panel on the right. Click the SET UP YOUR CAMERA AND MICROPHONE button under Audio and Video Settings to launch the setup wizard. If the problem is just that your microphone or speaker volume is too low or high, you can use the purple sliders to adjust the levels.
If you can't get your computer's microphone and / or speakers to work, don't despair. You can click "Use your phone for audio" to get a dial-in phone number and personal pin which you can use to replace your computer's microphone and speakers.

Text Chat
In addition to voice chat, you can text chat with the whole room or with particular individuals in the room. To find text chat, click the purple button in the lower right to open the Collaborate Panel. To look at chat, click the speech bubble at the bottom of the Collaborate Panel.

Click EVERYONE to post your chat message to the whole room. To select an individual to chat with, either type their name in the CHAT box to locate them. Select their name to launch the chat. You can also click the Attendees button, then click the "MORE" button beside the name of the individual you want to chat with and choose "Send a Chat Message".
Have a question?
You can call the Instructional Design Studio at 313-578-0580 for help!
Permalink Last updated 03/15/2020 by R. Davidson