Filter:

Faculty
Using web folders in Blackboard
When a web folder is set up, all of your course files can be managed from your desktop, dragging in content from multiple drives or folders and organizing it as needed. Also, files can often be edited directly in the web folder, without downloading them, editing them, and uploading them again.
The Following set of instructions were written for a computer running Windows 10 operating system. If you have a different operating system other than Windows 10, please refer to the instructions on the “Using Web Folders” page. There’s multiple sets of instructions depending on your computer’s operating system including Windows 7, Vista, Windows XP, & Mac OS.
NOTE: By setting up a web folder, you will need to link to the item in your course menu after the web folder syncs with your course. A web folder will create a direct link from the computer you are setting up the connection with, and your specific course.
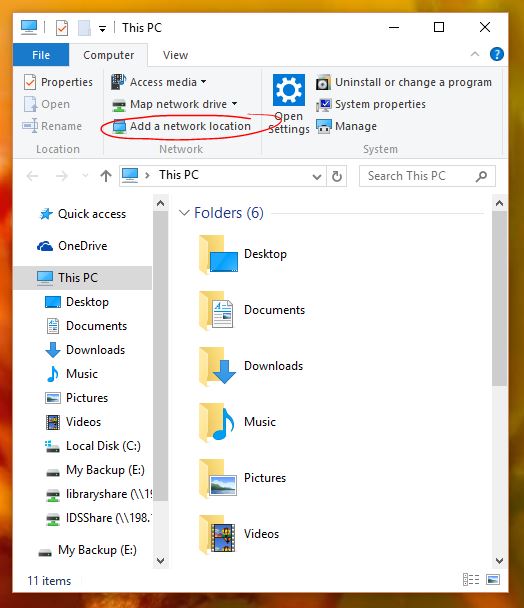
To start, in the lower left corner in the search box, type in “this pc” then select the desktop app to open up the Windows “File Explorer” window.
When the File Explorer window pops up, either right-click on a blank white area and select “Add a network location”, or click the “Add a network location” button at the top.
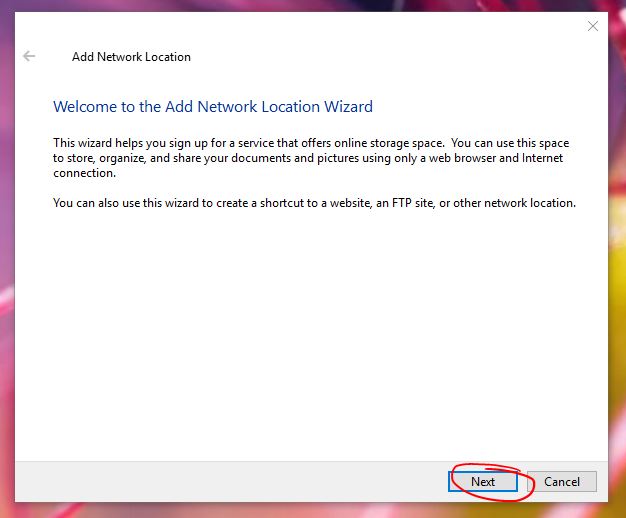
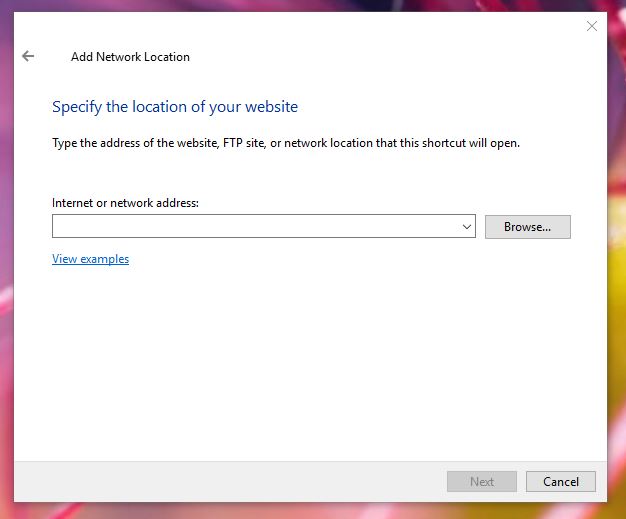
The Add Network Location Wizard will open. Click “Next“.
When asked where you want to create the network location, select Choose a custom network location. Click Next
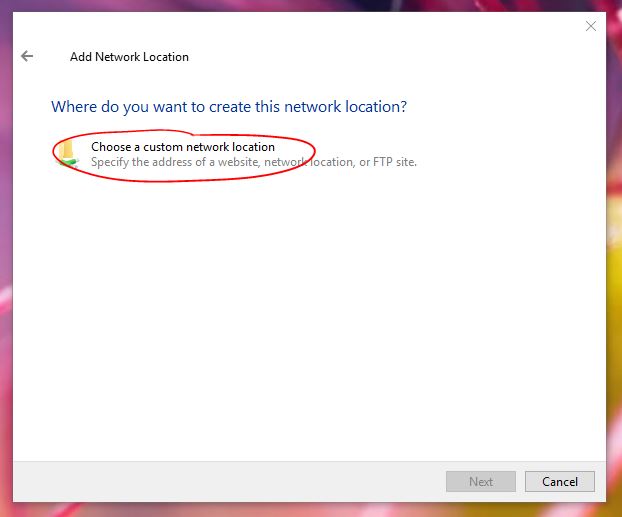
Next you will be prompted to add the network location
To get the network location, go into the course you wish to set up a web folder for. Then under the Control Panel section, click on Files, then the course ID.
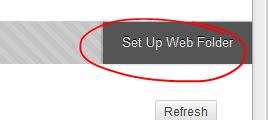
Next, click the “Set Up Web Folder” link on the Files Manager page.
Find the “Current Web Address” field, highlight the link in yellow, then click “CTRL+C” on your keyboard to copy the address.

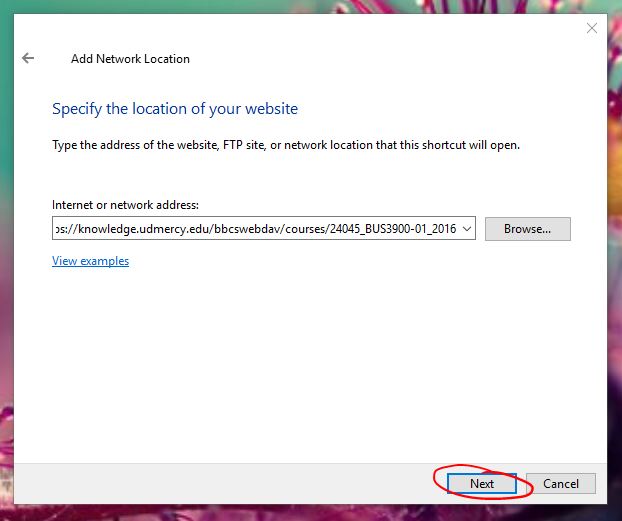
Then go back to your Add Network Location window that should still be open, put your cursor in the “Internet or network address” field, click “CTRL+V” to paste the address, then click Next.
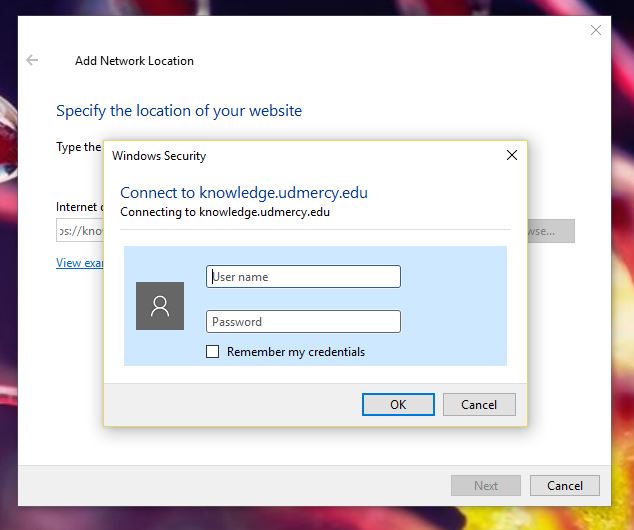
You will be prompted to enter your Detroit Mercy Titan Pass username and password credentials to continue with the setup.
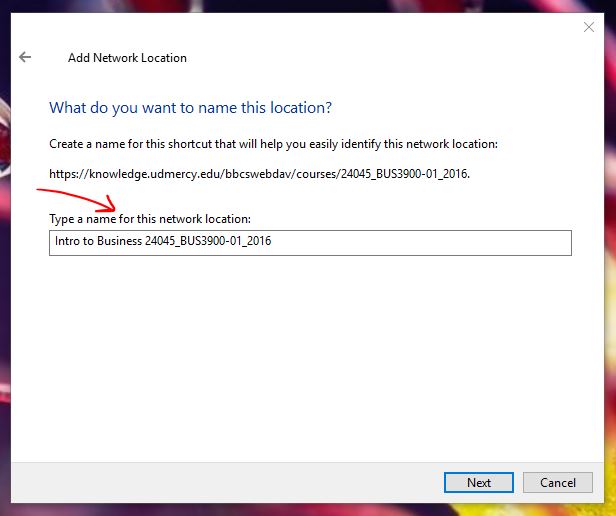
Then type in a name for the web folder. It’s a good idea to name this folder something that’s easily recognizable to identify the correct course, especially if you plan to create more than one web folder. Then click Next.
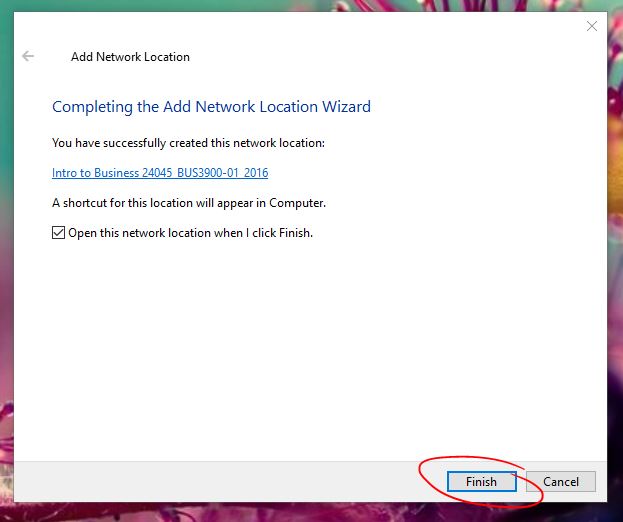
You’ve successfully set up a Web Folder linking your computer directly to your Blackboard course files. Click “Finish” to view/edit/add/delete the contents of your course.
Note: To access the web folder in the future, there will be a shortcut to this folder listed under “This PC“.
Permalink Last updated 08/02/2020 by R. Davidson