Filter:

Faculty
Adding an Item – Text, Files, Images, and More
Whether building or maintaining a course site, one of the most common activities is adding files and blocks of text. Depending on the content you’re adding, there are two methods of adding content to a course. If you only want to add a single file — any kind of file, Powerpoint file, PDF file, Word file, video file, audio file — with no accompanying text, the easiest method is to use the Add File tool. (see link below)
If you want to add one or more files under a single heading, text, and / or images that appear onscreen immediately (without clicking a link), you’ll want to use the Add Item tool.
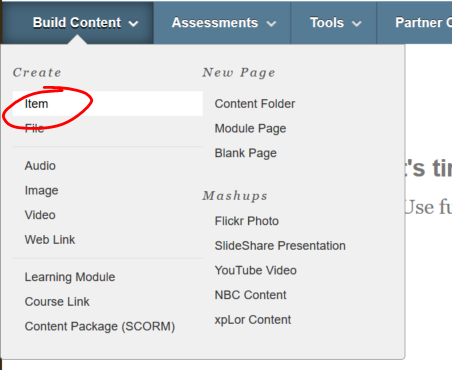
To get started, go to to the Content Area in your course where you’d like to add the content, then point to BUILD and choose ITEM under the CREATE heading.
Name and Color
Enter a name for the item you’re adding.
If you’d like to change the color of the file link, click the (default black) color tile, and select a new color. If you need help using the color picker, see the link below.

Resize Text Area
If you’d like to include on-screen text in your item, type it into the text box. Need more space for typine, click and drag the bottom-right corner of the text area.
The bar at the top of the text area contains a wide array of tools for formatting your text. If you only see a single line of tools, click the SHOW MORE button on the right side of the toolbar. Conversely, if you would like to hide most of the tools to provide more typing space, click the SHOW LESS button, which appears in the same place on a fully expanded toolbar.
Add an Image
If you’d like to add an image to the page, click the INSERT / EDIT IMAGE button on the bottom row of the toolbar. Browse your computer for the image file you’d like to add to the page. We recommend adding a brief description of the image in the IMAGE DESCRIPTION box. If the image is very large, you can edit the size in the add image box by clicking APPEARANCE, then changing the image’s width or height on the DIMENSIONS line (make sure the CONSTRAIN PROPORTIONS box is checked so your image doesn’t become warped). 500 is a decent width for a moderate sized image. 1000 works for a larger image (for reference, the animated image below is 1000 pixels wide). You can also resize the image after adding it to your item by holding the SHIFT key on your keyboard, then clicking and dragging the box on the side of your image (holding SHIFT constrains the proportions as you resize, again ensuring the image doesn’t become skewed).
Add One or More Files
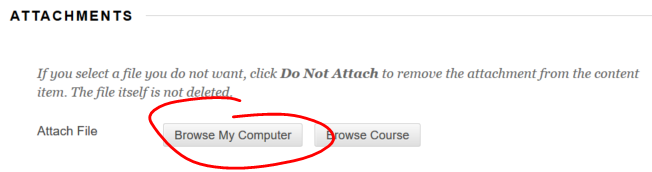
To link a file to your item, click the BROWSE MY COMPUTER button under the ATTACHMENTS heading.
Locate the file you wish to attach in the file browser and click OPEN. Note that any type of file can be attached — PDF files, Word files, PowerPoint files, video files, image files. The only limitation is whether your students have the software necessary to open the file you’ve attached.
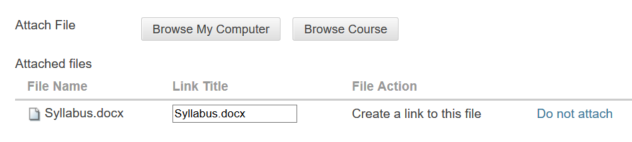
If you need to add another file, just click the BROWSE MY COMPUTER button again and repeat the process. To remove a file, click the DO NOT ATTACH text that appears beside the currently attached file.
While Blackboard does give you the opportunity to change the LINK TITLE, we do not recommend doing this. Changing the link title can make it difficult for students to locate the file after they’ve downloaded it to their own computer.
Standard Options (Item Availability)
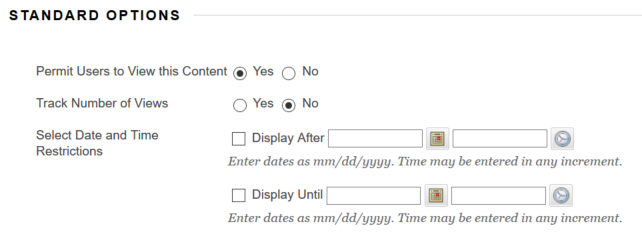
The Standard Options on the Create / Edit Item page work as they do elsewhere on Blackboard. If you’d like to make the content available to students, whether immediately or at a later date, click select YES on the “Permit Users to View this Content” line.
If you’d like users to view the content at a set time in the future, but not immediately, you should select YES on the “Permit Users to View” line, then check the DISPLAY AFTER box and enter the date and time you want students to have access. You can limit access to a window of time by also checking the DISPLAY UNTIL box and entering a date and time (note, you can make content available from a set time in the future until a set time in the future by setting both AFTER and UNTIL restrictions; you can make content available from the moment you add it until a set date by setting only an UNTIL restriction.
If you’d like to be able to see view statistics for this content (as well as other content items on the page you’re adding it to), select YES on the “Track Number of Views” line.
Once you’ve set the options as you’d like them, click SUBMIT to add the content or save your changes.
Permalink Last updated 05/22/2018 by R. Davidson