Dental library (restricted access)
Learning Modules function much like folders, in that they are containers you can put items and activities in. Students can navigate a learning module a little differently than folders, however, with the option to step between items in sequence (launching an item, then clicking a "Next" button to view the next item in the module).
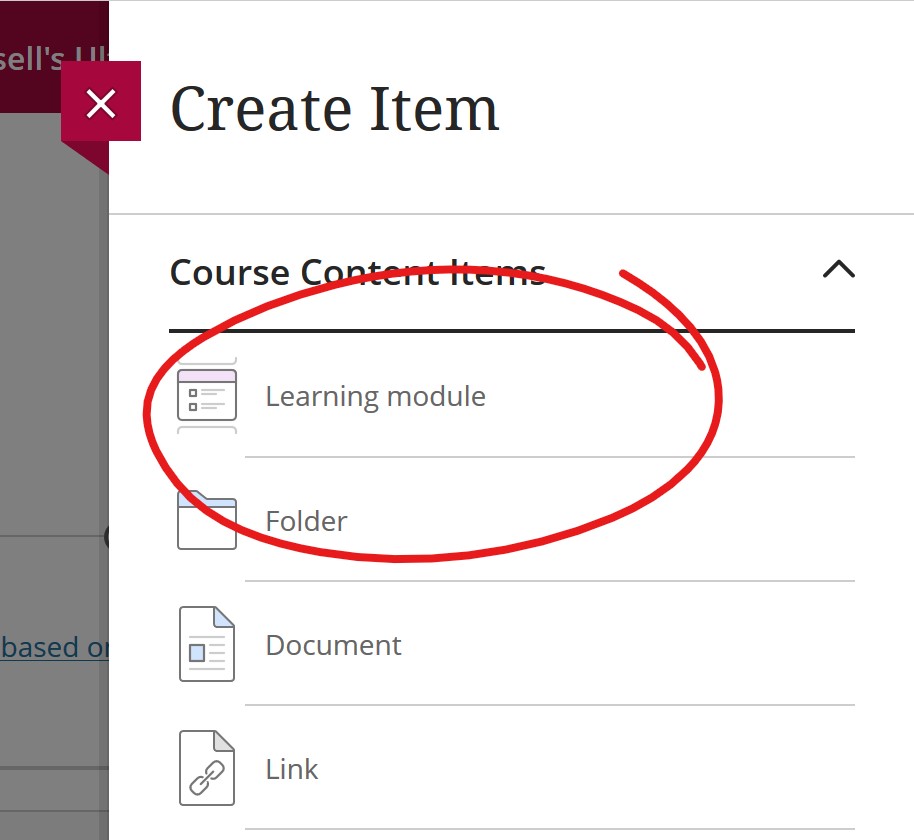
You can only add learning modules to the top level of the content area -- you cannot add them to a folder or sub-folder. To create a Learning Module, click the ADD button and choose CREATE.

Then choose Learning Module.

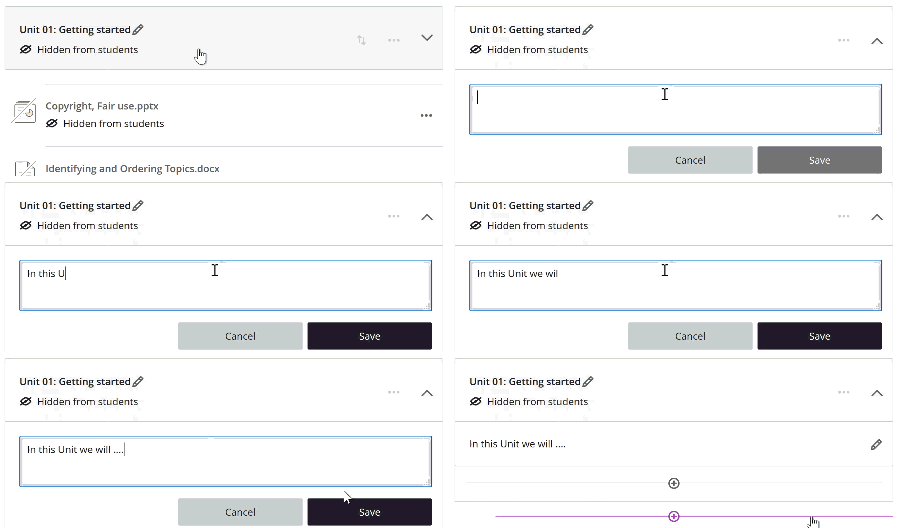
This will add an empty container to your list named "New Learning Module". Click the Module's Name to give it an appropriate name.

Click on the Unit (the gray box) to view the description field. Click "Add a description" to enter a brief description / introduction to the Unit.

From here, Learning Modules function like folders -- click the Add (+) button inside the Module to put an item or activity into the Module.
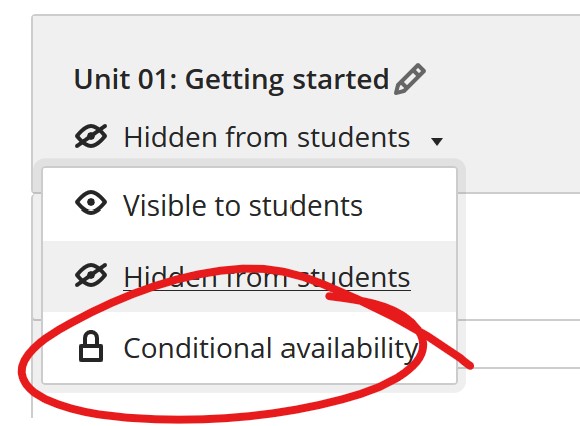
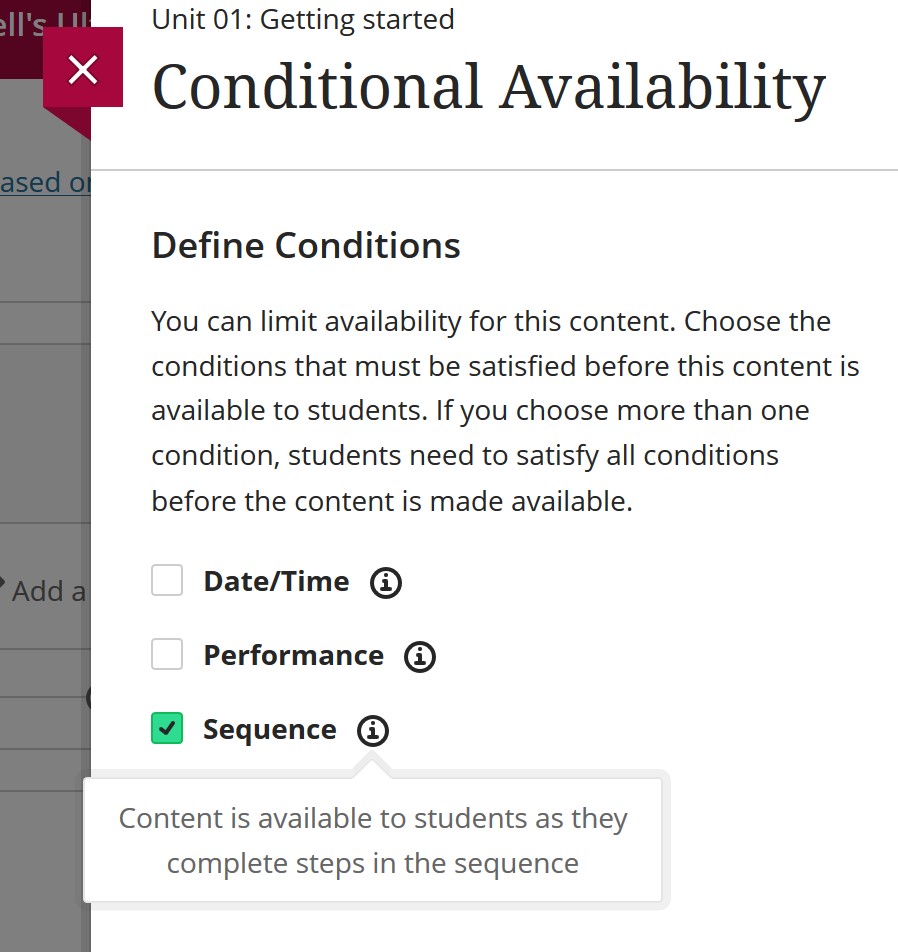
The biggest difference between Learning Modules and folders is the inclusion of SEQUENCE in Conditional availability option. To enforce sequential viewing, click the "Hidden from Students" label and choose CONDITIONAL AVAILABILITY.

Then choose SEQUENCE.

When students open an item that has sequential viewing turned on, they'll see all the items in the unit listed with locks beside the items they haven't reached yet. They can jump directly to an item they've already viewed (no lock), but they need to view a preceeding item before the next item in the list is unlocked.
If you want to use sequential viewing, make sure your module is all set up before you turn on sequential viewing. Once you've activated this you won't be able to make changes to the module.
The video below shows how a Learning Module with Sequential Viewing turned on works.
Permalink Last updated 06/15/2020 by R. Davidson


