Filter:

Recording PowerPoint Presentations with Office 365
The desktop version of PowerPoint that Detroit Mercy students and employees can download from Office 365 has pretty excellent recording features.
Remember, if you're providing a video (or audio) lecture, you need to provide your students with a transcript of the spoken content. Fortunately, writing a script, even for a presentation you plan to improv, can significantly improve the quality of your lecture. When you post your video, include the transcript alongside it.
Alternatively, you can export your PowerPoint as a video, then upload the video to Microsoft Stream (which automates captioning) and link to the video's Stream page.
Before you get started recording, we recommend you check out our Guidelines for Lecturing Online for some tips on making your online presentations more effective and more usable.
Before you get started, make sure the PowerPoint file is saved as recent PowerPoint (PPTX) file. If the file is a PPT, you may lose recorded audio. To check and fix this (if necessary), choose SAVE AS, then make sure the format is "PowerPoint Presentation (*.pptx)", not "PowerPoint 97-2003 Presentation." The PowerPoint icon should have a P on it.
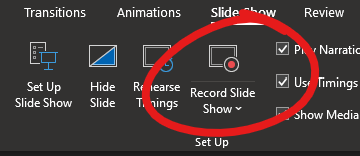
To get started recording a presentation, load up your PowerPoint and click the Slide Show tab.

Recording
To get started recording, click the RECORD SLIDE SHOW button. You may be asked whether you want to start from the current slide or from the beginning of the presentation, make the appropriate selection depending on where you want to start recording from.
This launches the recording stage.
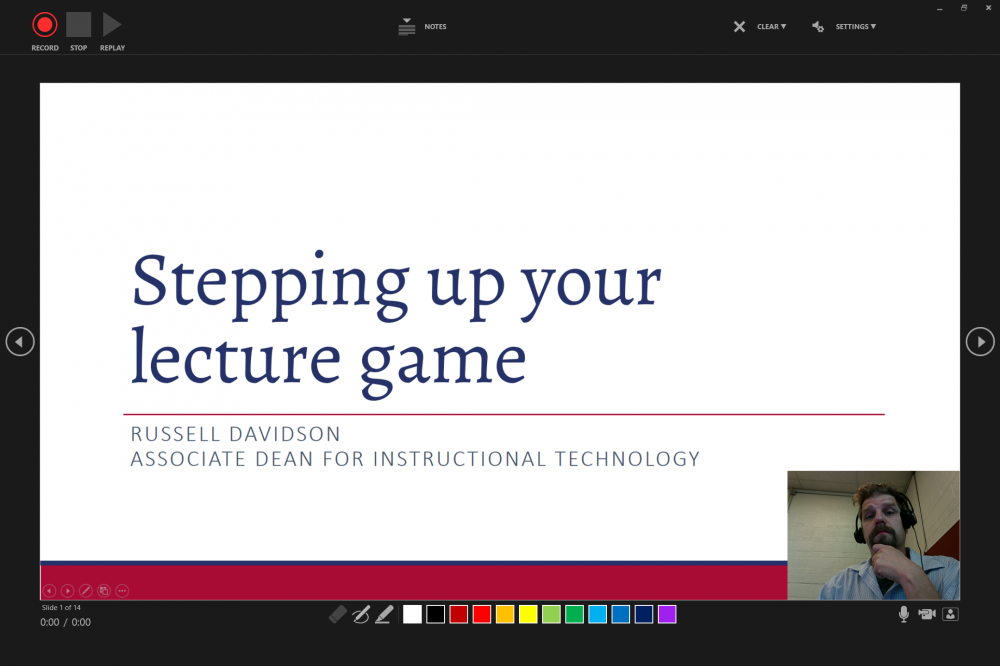
Click the big red button to start recording. You'll get a three second countdown, then you can start talking over your slides. Use the drawing tools at the bottom of the screen to annotate your slides as you go. Click the onscreen arrow button or the right, down, or space keys on your keyboard to advance to the next slide. Click the square button to stop recording.
Recording Notes
- This recording process adds your audio (and video, if you're capturing webcam footage as well) to the slides themselves. As a result, you can only advance your presentation while recording. If you're going to want to refer back to a previous slide as part of your presentation, include that slide twice -- once when it appears naturally, and again when you want to re-refer to it.
- Because you're recording audio to each slide, talking through transitions between slides doesn't work well. Stop and take a breath when advancing to the next slide to avoid audio issues.
- If you've got the web-cam turned on, your audio will be bound to the video. This means you won't be able to remove the video from a slide without also removing the audio. If you just want video on the first couple slides, start the recording with your webcam turned on, then stop the recording when you want to switch to audio only, turn off the webcam, and start recording again.
Once you're done recording, click the X button in the upper right corner of the screen or hit the ESC key on your keyboard to close the recording stage.
At this point, you should save your PowerPoint presentation as you normally would.
If you captured video, you can move the video window around on a slide-by-slide basis (making sure it does not obscure important content in your presentation). You can style or trim your media by right-clicking on the media and choosing the appropriate option.
MUTE AUDIO / DISABLE VIDEO / HIDE VIDEO PREVIEW
In the bottom right of the recording stage are controls for muting audio, turning off video, and showing or hiding the cam preview. While recording is in process (paused counts as still in process) you cannot switch any of these options except the cam preview.

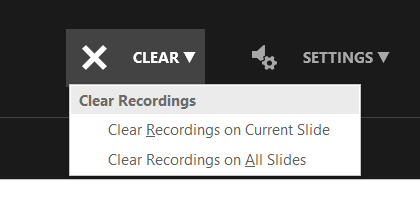
CLEAR RECORDING FROM A SLIDE / ALL SLIDES
Click the arrow next to the "CLEAR" label in the upper right, then select whether you want to clear the recording from just the current slide or from all the slides in your presentation.
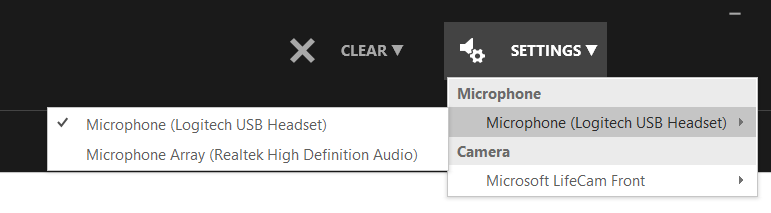
SELECT A MEDIA SOURCE
In the upper right you can select a different source for your audio or video feed. For the best sound quality, we recommend using a headset with a built-in microphone.
EXPORT TO VIDEO
Once your recording is done, click FILE, then EXPORT, then choose Create a Video to produce a video file of your presentation. On the Create a Video page, the file type defaults to Full HD. We recommend you change to HD (720p) or STANDARD (480p). The smaller the number, the smaller the file and the less time it will take to render the video. Once you've got your settings selected, click CREATE VIDEO to start the export process.
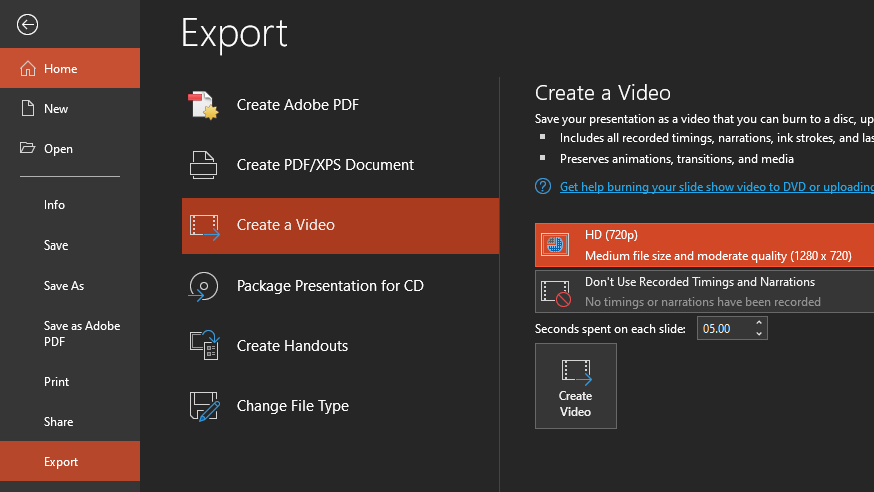
Be patient. It will take some time create the video. You can track the progress in the bottom right of your PowerPoint window, just left of the notes button and view selectors. If you want to cancel the recording process, click the little X button.
![]()
Once you've got the video file, you can upload it to Microsoft Stream.
Permalink Last updated 04/09/2020 by R. Davidson