Filter:

Microsoft Stream - Uploading Video
Microsoft's Stream is an excellent way to provide your students with access to your videos. Not only does it do a fine job of streaming video (as the name suggests), it does a fair job of automatically generating transcripts for your videos, which makes your content ADA compliant and more usable for your students generally.
When recording your videos, you should still adhere to the guidelines for recording video (particularly considerations of necessity and length).
Before you upload your first video, you should sort out how you want to handle access. If you're okay with the whole university community (students, faculty, staff, and administrators) having access to your lecture videos, you can just get started adding your videos. Otherwise, you should first check out our walkthrough on creating and populating groups.
Adding Videos to a Group and Preset Some Permissions in the Process
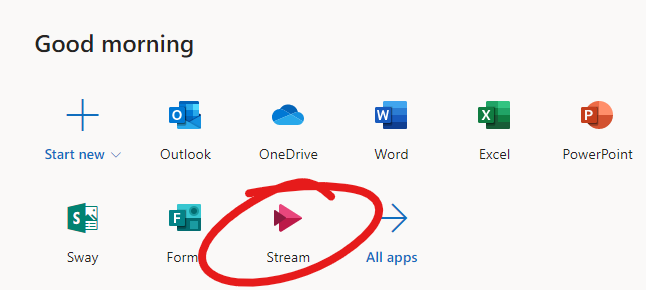
Once you've got your videos recorded, adding them to Stream is easy. Simply log in to Microsoft Office, then select STREAM from the apps list. If Stream doesn't appear immediately, click the ALL APPS button.
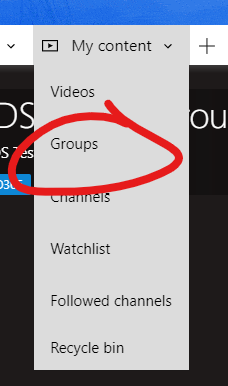
If you're limiting access to your video to a group that you've already set up, first click MY CONTENT then select GROUPS.
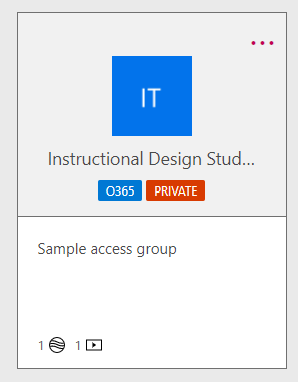
Choose your group from the list.
Click UPLOAD VIDEO button.

You can then browse for the video or videos on your computer.
Skip down to the settings bit to make sure you're all set.
Adding a Video Outside a Group
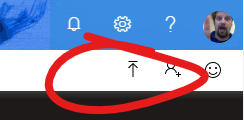
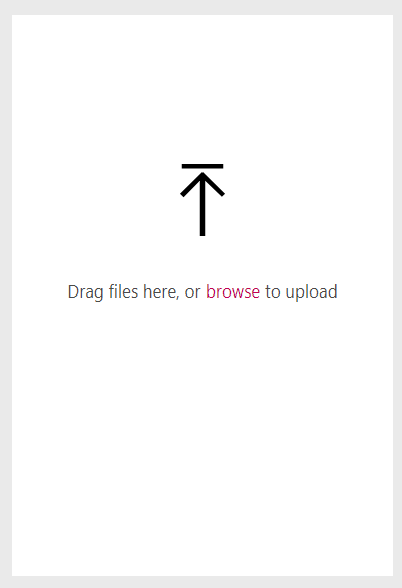
Just click the Upload Video button in the upper right.
You can then drag your video onto the window or you click the BROWSE text to open a file browser and locate the video on your computer.
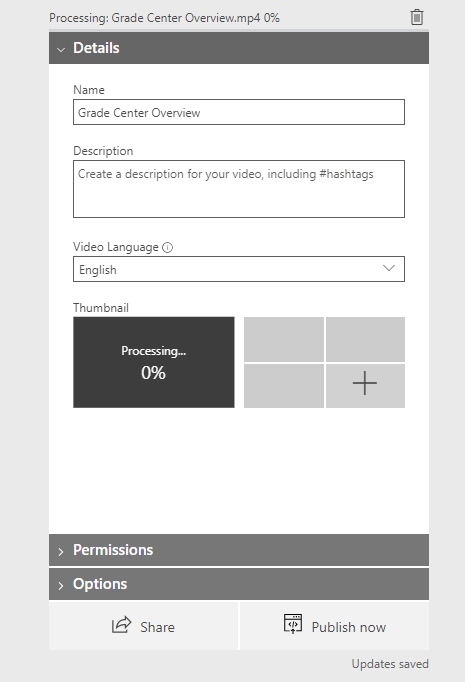
Upload Details
You can set and verify the video's options while it's uploading and processing. Use the DETAILS pane to provide a clear title and description. Make sure ENGLISH is selected in the video language (this ensures that captioning will be processed appropriately).
Upload Permissions
Click PERMISSIONS to edit the permissions for the video. If you want to prevent everyone at the University from having access to your video, uncheck the "Allow everyone" box. You can give a specific group or user by typing the group name our user email address into the search box and selecting the appropriate entry when it pops up underneath.
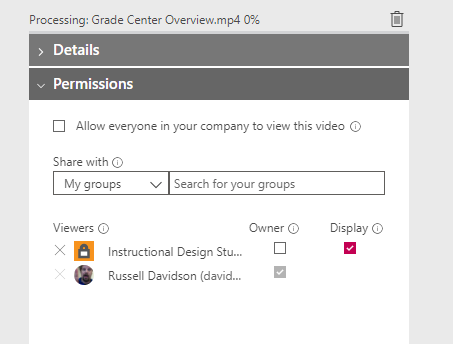
NOTE: If you're adding a video to a group the GROUP will already be added to the permissions space and the "Allow everyone" box will be unchecked. You'll still want to uncheck OWNER for the group though, to prevent your students from editing your videos.
Publish
The video won't be available to watch until it's published. You can click PUBLISH NOW at the bottom of this upload box to set the video to publish when its done uploading and processing.
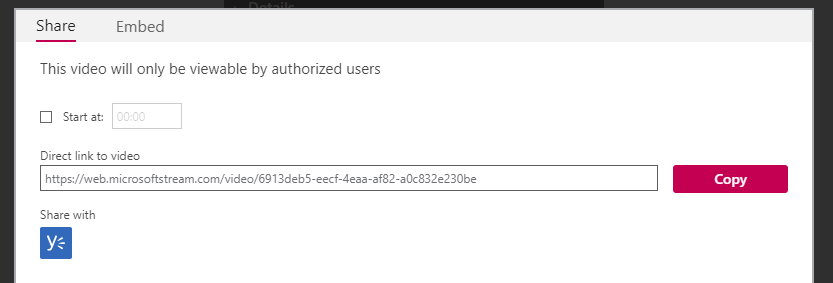
Copy the Video Link
At the bottom of this box is a SHARE link.
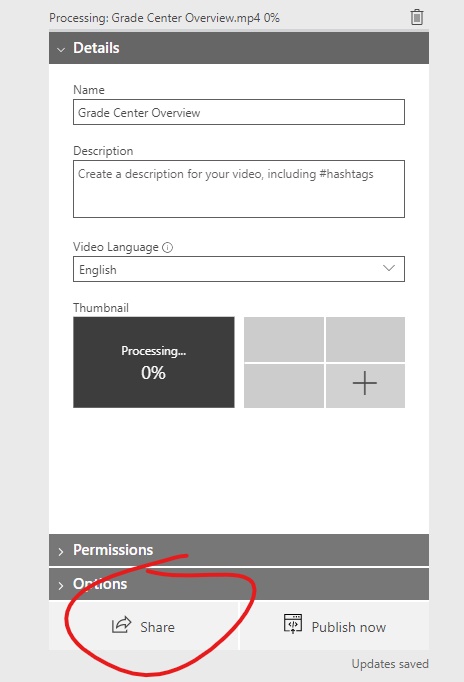
Click that, then click the COPY button on the link to copy it to your clipboard.
Lost the Upload Box? Publish and Share Later
Click MY CONTENT and choose VIDEOS.
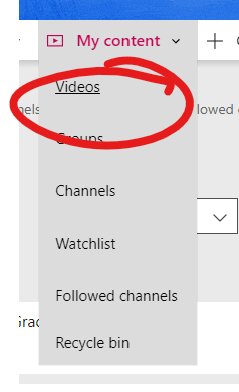
All the videos you've uploaded will be listed. Click the red button to publish (it will actually read PUBLISH on a wider display).

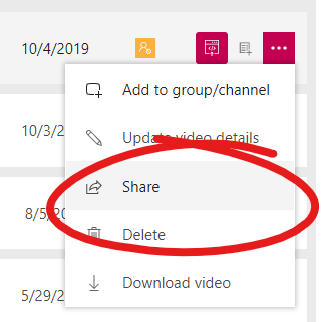
To get the link for sharing click the MORE ACTIONS button, then choose SHARE. Again, click the COPY button to copy the link to your clipboard.
Now you'll need to add the video to your course. You can either add a link to text box content or you can use the web link tool. For instructions on the former, first check out the Add an Item walkthrough, then check out the Add a Link to Textbox Content walkthrough. This is a good method for adding several links to a single space.
In either case, we recommend including the video's run time alongside the link so students know how much time they should be prepared to spend watching the video.
Permalink Last updated 07/30/2020 by R. Davidson