Students & Faculty
This is a guide to creating Tests in Blackboard Ultra. Tests are Assessments with questions, and can be automatically graded. This guide does not explain the different question types, but there are fewer choices than in Blackboard Classic and they have been either simplified or improved.
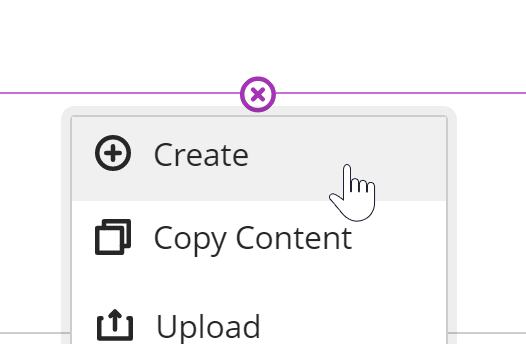
To create a Test, click the purple line with a plus icon in your Course Content section, then choose CREATE.

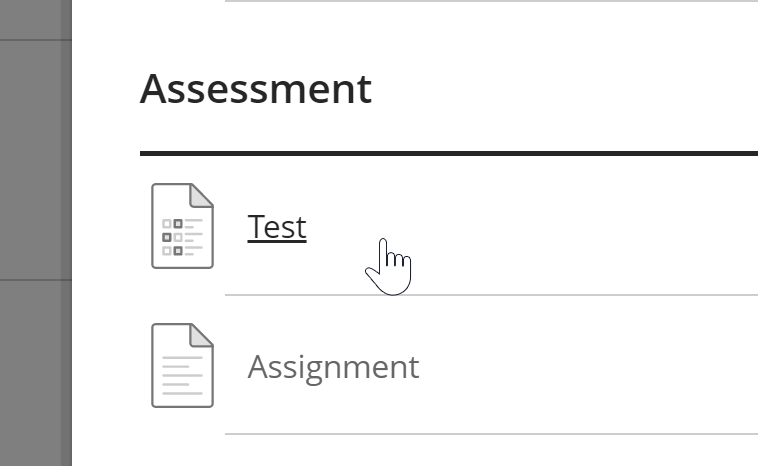
From the sidebar on the right, select TEST under Assessment.
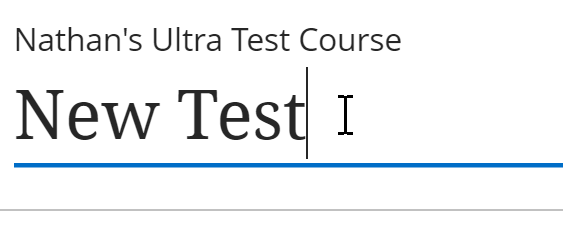
Enter the name of your Test at the top of the window.
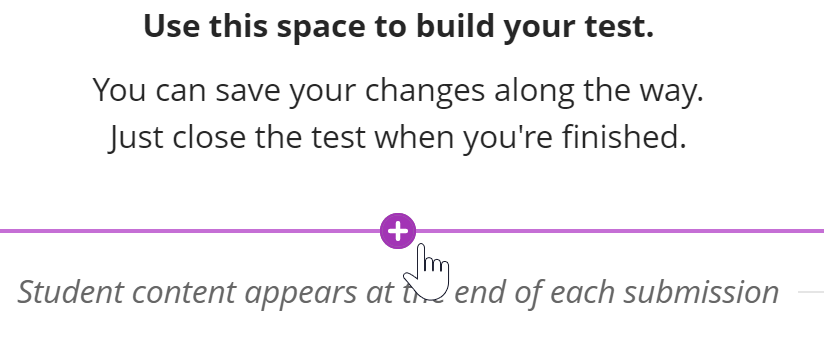
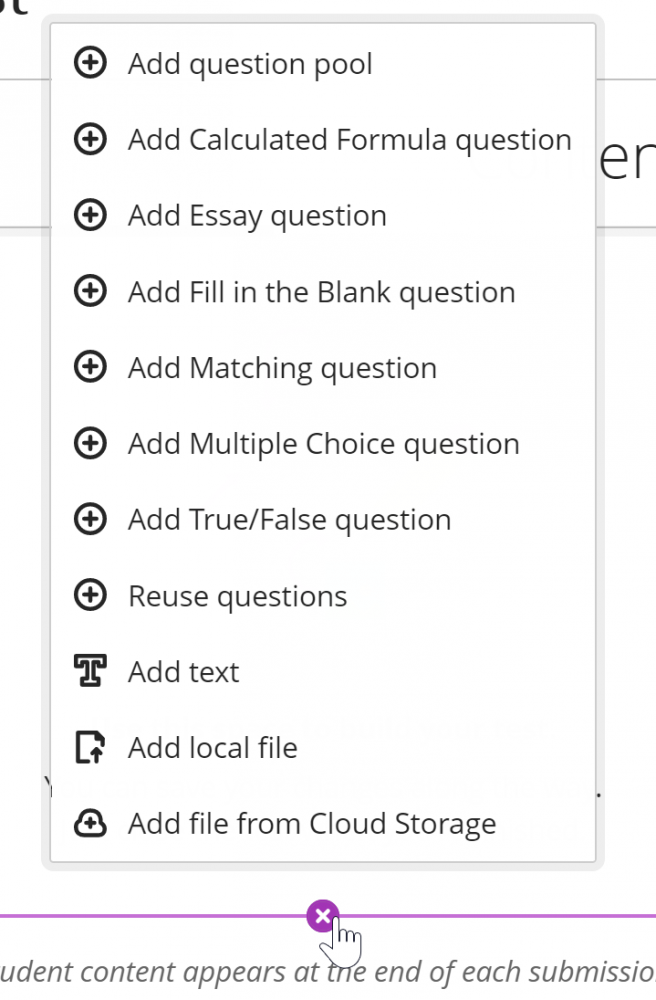
To insert a question, click the purple line with a plus icon in the left-side of the Test creation screen and select from the list of supported question types. (Note: Not all question types from Blackboard Classic are in Ultra). You must fill in or remove all answer choices before you can add the question.
To change the point value of a question, click the rounded rectangle “points” box above the question.

By selecting Add Text, Add Local File, or Add file from Cloud Storage you can insert text or files in addition to questions. This is perfect for providing reference material for the students, as text and files appear above the questions during the test. Ultra no longer has the one-at-a-time display option, so the content will be available to them as they answer each question.
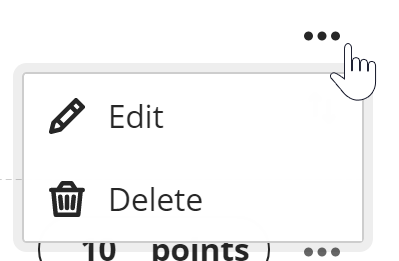
You can edit the display name or change how media is embedded by clicking the menu button after adding a file.
Assessment Settings
For information about setting the maximum possible points for a Test, adding a due date or timer, limiting attempts, enabling SafeAssign and Lockdown Browser, or using the options mentioned above, see the (Bb Ultra) Assessment Settings guide.
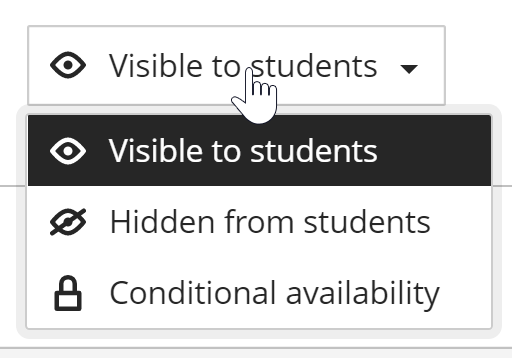
To make the test available/unavailable or set up conditional availability, use the menu in the upper right. Click here for more information on Conditional Availability.
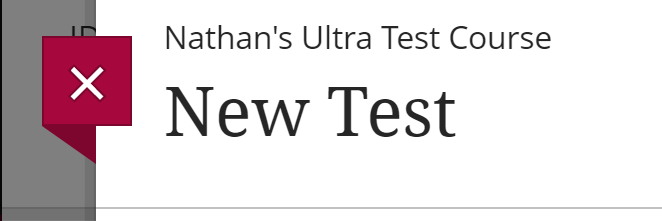
When you’re done setting up your test, click the X button to close the test and return to the Course Content area.
