Students & Faculty
Whether you're planning on giving an interactive lecture or just providing virtual office hour, at some point you will probably want to push an image or deck of PowerPoint slides out to your Collaborate room. Not only is this easily done, but you can even easily load presentations well in advance of your session so they're ready for you when you need them, whether it's an hour later or a month later.
To get sharing your presentation, open the Collaborate panel by clicking the purple button in the lower right corner of your session window. Choose the SHARE CONTENT tab, then click SHARE FILES.

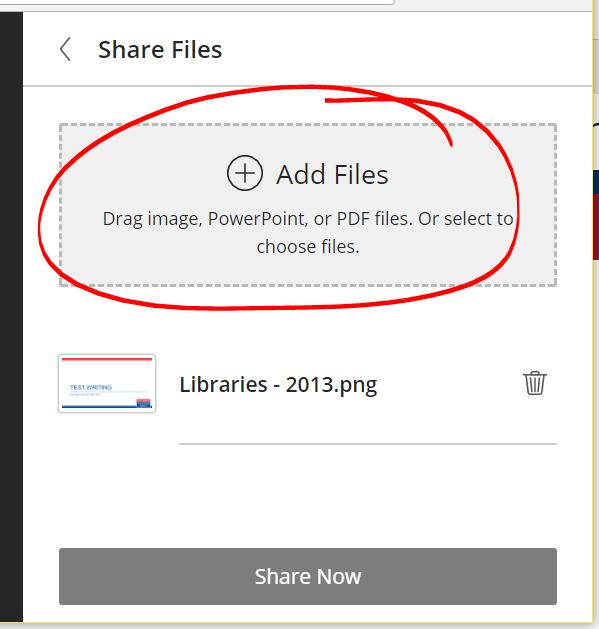
The process for adding a file is the same as the process for attaching a file to an email. You can either drag the file into the ADD FILES box or click the ADD FILES box, locate the file you wish to share using the file browser, and click OPEN.

Depending on the size of the file, it may take a few minutes for Collaborate to process. Please note: PowerPoint slides are converted into static images, so any slide animations will be lost in the upload process.

To share a presentation, select it from the list of uploaded files or presentations, then choose SHARE NOW. The presentation won't be pushed out to the room immediately. Click on the slide you wish to start sharing, and the presentation will be pushed out to the room. You can use all the annotation tools (pen, shapes, etc) to highlight your slides as you present.
When you are done sharing your presentation, click the stop button in the upper right corner of the presentation space.

When sharing a presentation or image, the whiteboard tools are available for annotating your slide or image (see Share and use a whiteboard in Collaborate, linked below)
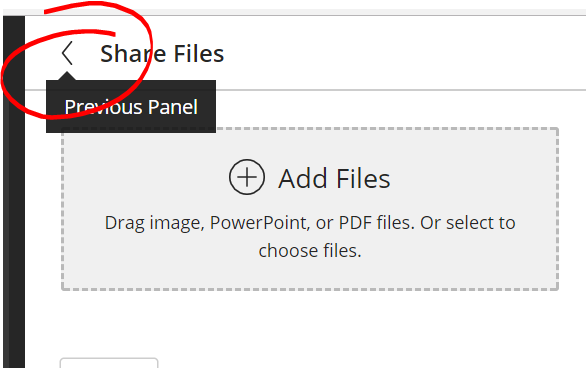
To close the Share Files panel, click the left-pointing arrow beside the panel name.

Permalink Last updated 09/14/2017 by R. Davidson


