This short video walks you through the process of posting to a student journal in Blackboard.
To post to your student journal, first you'll need to locate the journal assignment inside the course site. You may find a "journal" item in the course menu, you may find a link to the journals tool inside a folder, or if all else fails, you'll find JOURNALS on the TOOLS page.
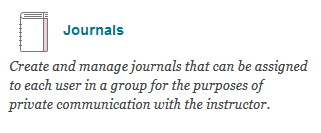
Here you'll find any journal assignments listed. Generally, you re-use the same journal space for multiple postings (in this example, we're required to post in our "Service learning journal" every week. Some courses may have you post to multiple journals -- at this step it's important that you open the correct journal. Just click the journal name to get started reading and posting.
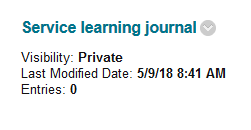
To create a new post, click the CREATE JOURNAL ENTRY button in the upper left.

On the Create Journal Entry page, enter the title of your post and the body of your post in the Title and Entry Message fields respectively.
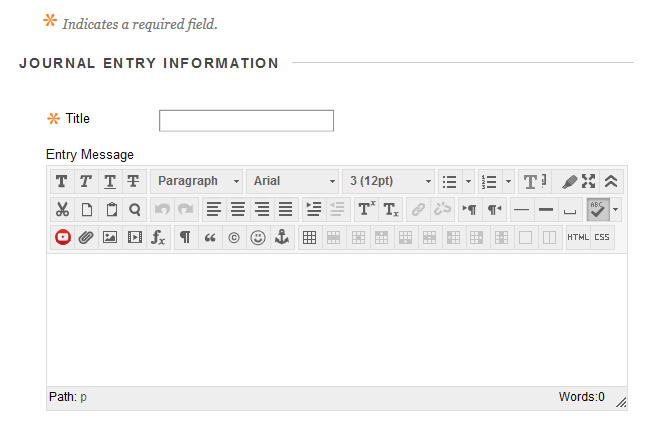
NOTE: The journal tool doesn't save as you go -- if you lose your internet connection before you post your entry, your entry would be lost. For that reason, we encourage you to write longer, more considered posts in software like Word, then copy and paste your entry (CTRL+C to copy, CTRL+V to paste) into the Journal tool.
If your professor wants you to include a file with entry, click BROWSE MY COMPUTER, then locate the file you wish to attach on your computer.

Once you have finished your post, click the POST ENTRY button.

If you click the SAVE DRAFT button, your entry will not be posted for your professor to see, instead you will be able to find, edit, and post the draft entry by clicking the VIEW DRAFTS button.
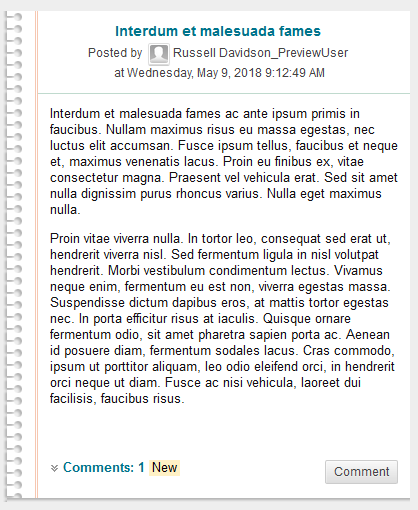
Once posted, entries show with the most recent on top. If your professor has commented on your post, you can view the comments by clicking the COMMENTS button at the bottom of the post (an number will indicate how many comments have been posted).
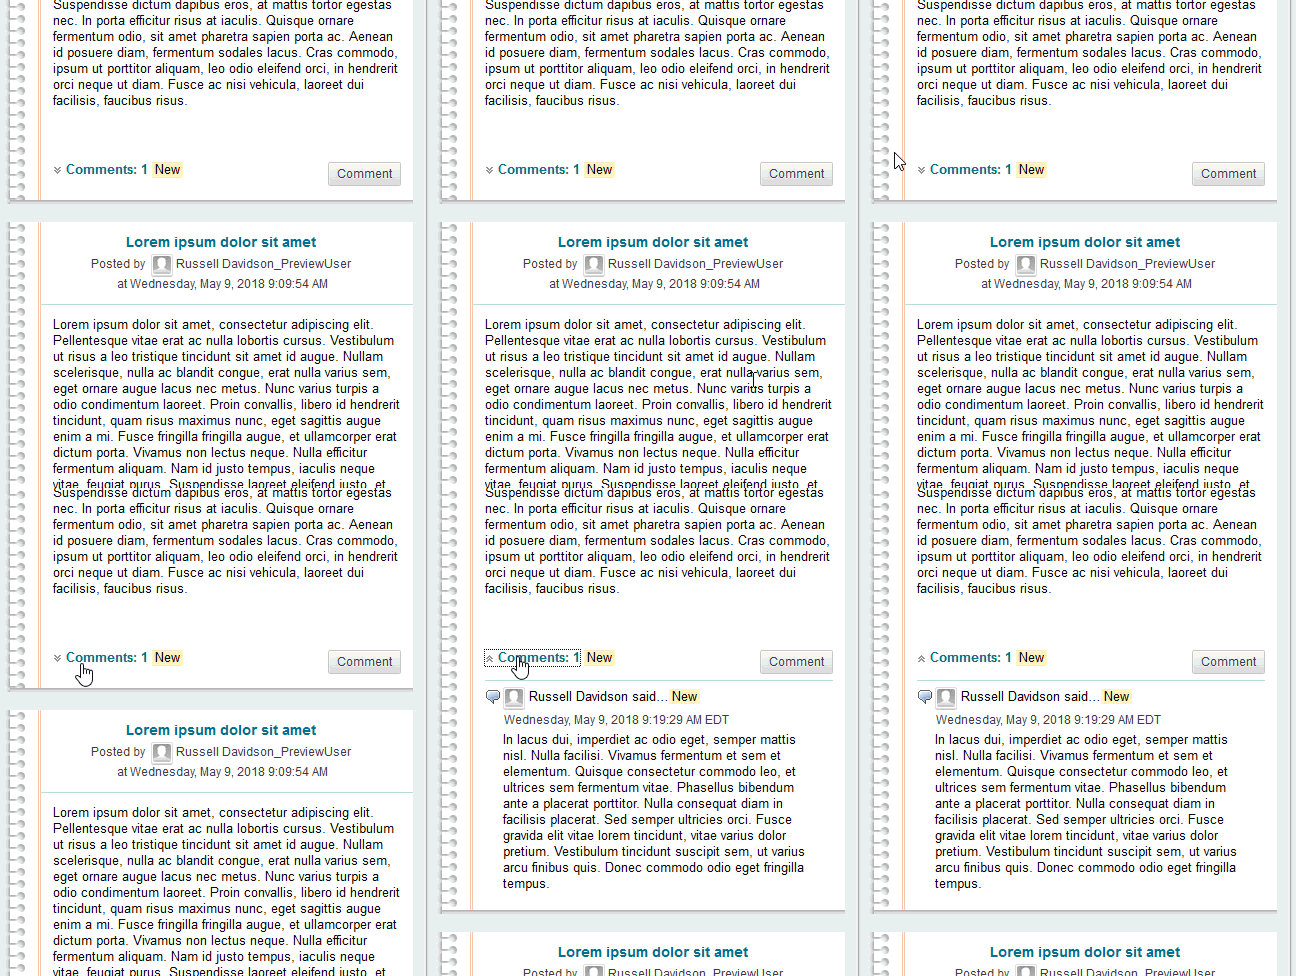
To post a new comment, click the COMMENT button
Permalink Last updated 05/09/2018 by R. Davidson


