Filter:

Office of Digital Education
(Bb Ultra) Add a Document
For folks familiar with classic Blackboard, Documents represent the Ultra version of an item. With a Document you can add a number of text blocks (which may include images, links, and embedded video from YouTube) and attach files as well.
Because a "Document" can contain multiple bits like blocks of text, which can themselves contain links to things like Stream videos or other electronic resources, and attached files, you could use a Document in much the same way you would use a folder, to contain and organize discrete items you want students to view and / or work with.
As of right now, Documents are a little less flexible than classic Bb items due to the simplified text editor.
To add a Document, simply click the + Create button and choose Document.
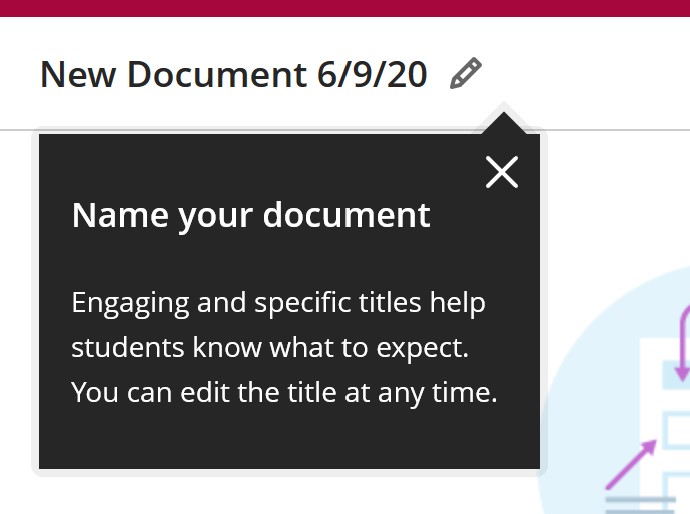
Give your Document a name at the top.
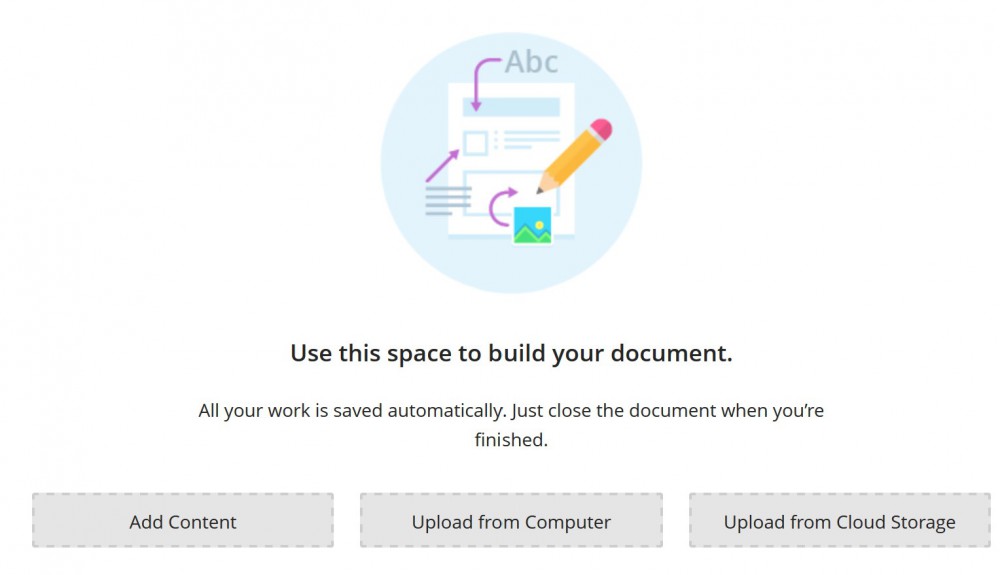
There are three types of items you can add to a document, and you can have more than one of each of these in a single document.
You can Add Content (type into Blackboard), Upload from Computer (attach a file stored on your computer) or Upload from Cloud Storage (copy a file to Blackboard from a cloud storage location like your Detroit Mercy OneDrive account).
Click the Add Content button to start typing on the screen (or to paste text from another source, which is rarely a bad idea). The text editor toolbar provides you with some common options, including changing the text style, linking to other web sites, and adding image or video sources.
If you're going to link to several videos that you'd like the students to watch in sequence, adding these links to a document (rather than adding each individually as web links) may be a good way to collect those items on a single page, rather than foldering a bunch of web links.
Using the INSERT / EDIT LOCAL FILES button in the text editor produces a result similar to Upload from Computer (that is, your links do not appear as links inside your text box, but instead are separate blocks that follow the text).
Upload from Computer presents a simple file attach window. Find the file (or files; you can select more than one at a time) on your computer, to add them to the page.
When adding a file this way you cannot add a description, so be sure to use the "content" area to include information about what the attached files are, why they are of interest, and how your students should use them.

Upload from Cloud Storage lets you add a file that's saved into a cloud storage service, like your Detroit Mercy OneDrive account, or a Google Drive, Box, or DropBox account.
There are a few steps to the getting a remote storage location set up for the first time, so we've consolidated those instructions here.
Document Settings
After you've created your document, you'll want to provide a short introduction to its contents -- so students will know why they should open the document and what they should expect to find there (as you would with a folder).
You can also enable "Class Conversations" on a document, letting students side-chat with you and with each other alongside your document.
To do this, click the GEAR icon in the upper right of your document. Check the Class Conversations box to enble text messaging on the document.
Put your brief description in the space provided at the bottom of the page.
Permalink Last updated 06/11/2020 by R. Davidson